How to Build a Raised Garden Bed for Under $50
Imagine stepping into your backyard and seeing a neat little raised bed bursting with veggies, herbs, or flowers — and knowing it didn’t break the bank. Building a raised garden bed is one of the easiest and most rewarding ways to start growing your own food. And the best part? You can build it yourself, even if you’re on a tight budget.
In this guide, I’ll walk you through how to build a raised garden bed for under $50 using simple materials, basic tools, and a little DIY spirit. Whether you have a backyard or just a sunny patio, this project is for you.
Quick Answer: How to Build a Raised Garden Bed for Under $50
To build a raised garden bed on a budget, buy untreated pine or cedar boards from a local hardware store and assemble them into a simple box frame using corner brackets or screws. Choose a sunny spot, lay down cardboard to suppress weeds, then place your frame on top and fill it with a mix of compost, topsoil, and mulch. You’ll be growing in no time — no fancy tools required!
What You Need to Build a Raised Garden Bed (Tools & Supplies)
Here’s a list of affordable materials and basic tools you’ll need for this budget-friendly DIY:
- Four untreated pine boards (1”x6”x8’), cut to size
- Wood screws or galvanized corner brackets
- Drill or screwdriver
- Measuring tape
- Work gloves
- Cardboard or landscape fabric (for the base)
- Garden soil mix (approx. 4–6 cubic feet)
- Optional: exterior wood stain or natural sealant for longevity
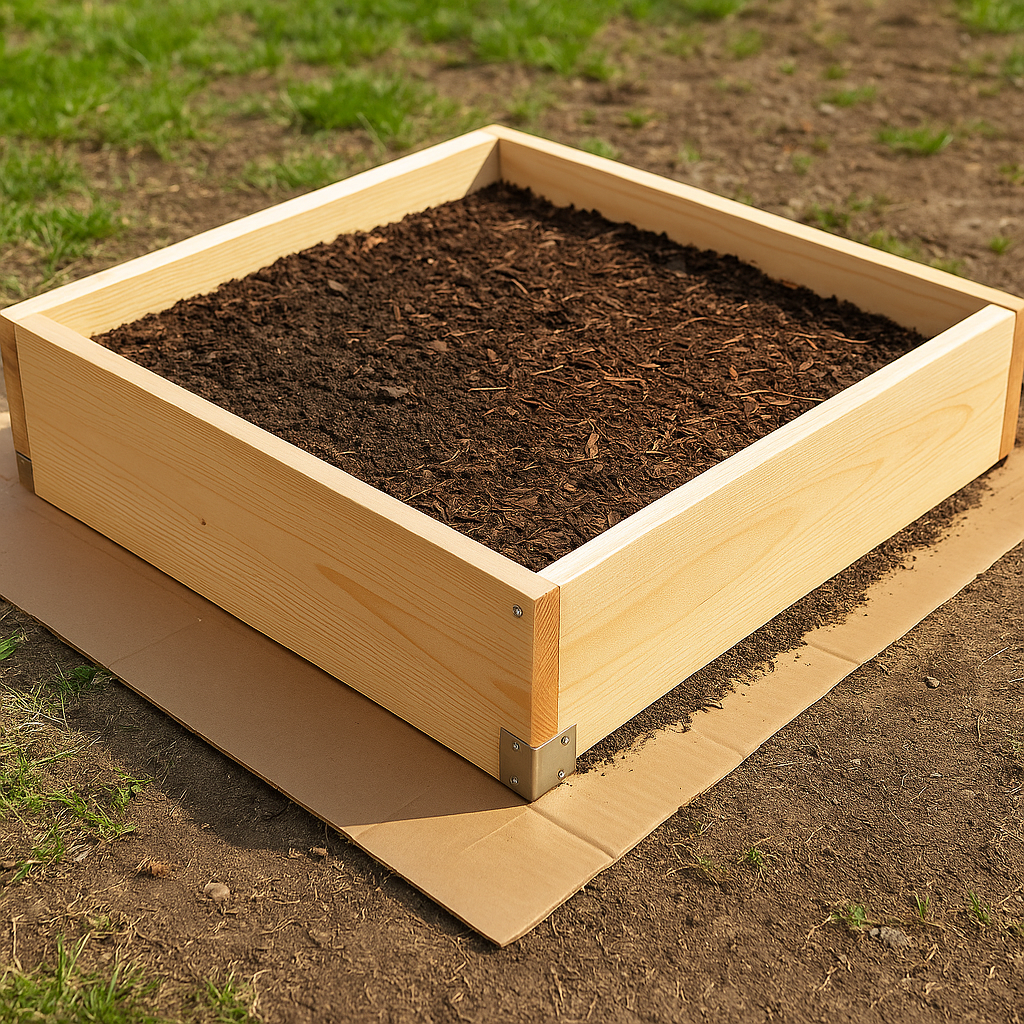
Step-by-Step Guide to Building a Raised Garden Bed for Cheap
Transform your backyard into a vibrant, bountiful oasis without draining your wallet! Building your own raised garden bed is a remarkably empowering project, delivering fresh produce and stunning blooms right to your fingertips. Forget flimsy solutions; we’re talking about a sturdy, productive haven that will nourish your family for years to come. Let’s dive in and create something magnificent!
1. Master Your Material: Precision Cuts & Visionary Dimensions
First, visualize your future harvest powerhouse! While the possibilities are endless, a 4 ft x 4 ft footprint is an absolute game-changer for beginners – it’s a generous canvas for diverse crops, yet perfectly scaled for effortless access from every angle. This isn’t just about cutting wood; it’s about tailoring your growing dreams! You can either leverage the convenience of on-site cutting at your local lumberyard or, if you’re ready to embrace the thrill of DIY, unleash your saw at home for ultimate customization.
2. Forge Your Foundation: The Blueprint of Abundance
Now, let’s construct the very heart of your garden! Lay your pre-cut boards on a perfectly level, solid surface – this critical step ensures enduring stability. Using robust screws or heavy-duty brackets, meticulously secure each corner. Don’t rush this! Take a moment to double-check every angle for perfect squareness; this foundational integrity is paramount for a bed that withstands the elements and supports flourishing life. You’re not just assembling wood; you’re crafting a resilient framework for years of abundant harvests.
3. Scout Your Sanctuary: Harnessing Solar Superpower
Plants are unapologetic sun-worshippers! This is where your garden truly begins to thrive. Embark on a strategic reconnaissance mission across your yard to pinpoint that prime, sun-drenched sanctuary. We’re talking a minimum of 6-8 hours of direct, unfiltered sunlight daily – this is the essential fuel for robust growth and explosive yields. Critically, avoid any insidious low-lying spots that could transform into waterlogged nightmares, suffocating delicate root systems. Your goal is a location that optimizes light absorption and guarantees superior drainage.
4. Fortify Your Fertility: The Unseen Shield
Before your wooden masterpiece takes its place, we lay the groundwork for unrivaled success! Begin by ruthlessly eradicating any stubborn, invasive weeds from your chosen spot. This isn’t just tidying; it’s about eliminating future competition for precious nutrients. Then, deploy your secret weapon: a generous layer of heavy-duty cardboard or premium landscape fabric. This formidable barrier acts as an impenetrable shield, stifling weed growth and preventing grass from staging an unwelcome invasion into your meticulously cultivated space. It also provides an extra layer of long-term weed protection, setting the stage for a low-maintenance, high-reward garden.
5. Elevate & Enrich: Your Garden’s Nutrient Nirvana
The moment has arrived to breathe life into your raised bed! Carefully, yet confidently, position your impeccably built wooden frame squarely atop your prepared ground. Now, for the ultimate act of cultivation – filling your bed with the perfect, nutrient-dense growing medium. This isn’t just dirt; it’s a carefully engineered blend designed for explosive plant vigor:
- 60% Premium Topsoil: The robust, structural backbone of your garden, providing foundational stability.
- 30% Rich, Organic Compost: This is your “black gold” – a powerhouse of essential nutrients, beneficial microbes, and unparalleled soil vitality. It fuels vigorous growth and disease resistance.
- 10% Fluffy Mulch or Hydrating Coco Coir: These are your moisture-managing marvels! They dramatically enhance water retention, reduce evaporation, suppress weeds, and regulate soil temperature, creating an optimal, stress-free environment for roots.
Aggressively mix these components together until you achieve a consistently rich, dark, and wonderfully loose texture. You’re not just filling a box; you’re crafting a living, breathing ecosystem – a luxurious, aerated growing environment where your plants will not just survive, but absolutely flourish! Get ready for an explosion of growth and an unparalleled harvest!
Extra Tips for Raised Bed Success
- Use untreated wood only — pressure-treated boards can leach chemicals into your soil.
- Add mulch on top of the soil to retain moisture and reduce weeds.
- Install drip irrigation or use a watering can with a gentle spout to avoid soil splash.
- Consider companion planting to maximize space and keep pests away naturally.
- Rotate crops each season to keep your soil healthy and prevent diseases.
Common Mistakes to Avoid (Friendly Warnings)
- ❌ Using pressure-treated lumber — it lasts longer but may contain harmful chemicals.
- ❌ Skipping the base layer — cardboard helps suppress weeds and breaks down naturally.
- ❌ Filling with only topsoil — without compost, your plants might lack nutrients.
- ❌ Building too big — don’t make your bed wider than 4 feet unless you can reach from both sides.
Frequently Asked Questions
Can I build a raised bed without tools?
Yes! Use corner brackets instead of screws, and ask the hardware store to cut your wood for free.
How deep should my raised bed be?
6–12 inches is perfect for most veggies and herbs. Root crops like carrots prefer 12”.
What can I grow in a raised garden bed?
Tomatoes, lettuce, basil, carrots, peppers, and even flowers like marigolds — the options are endless!
Related Reads You’ll Love
If you’re excited to start growing, check out these helpful beginner guides:
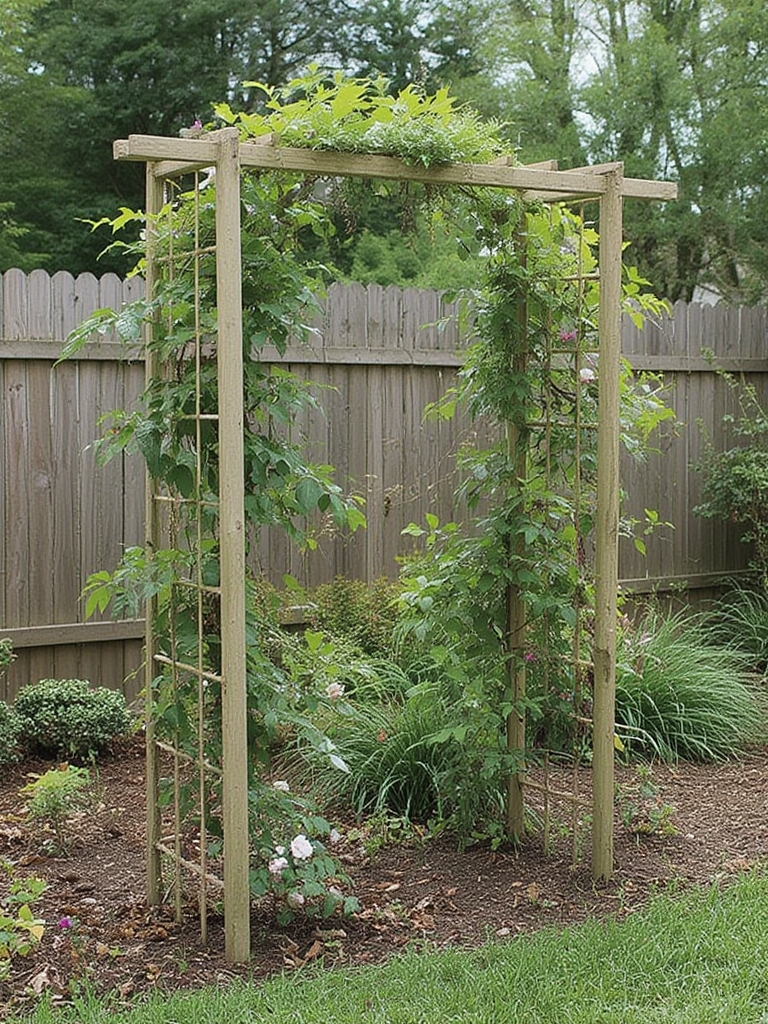
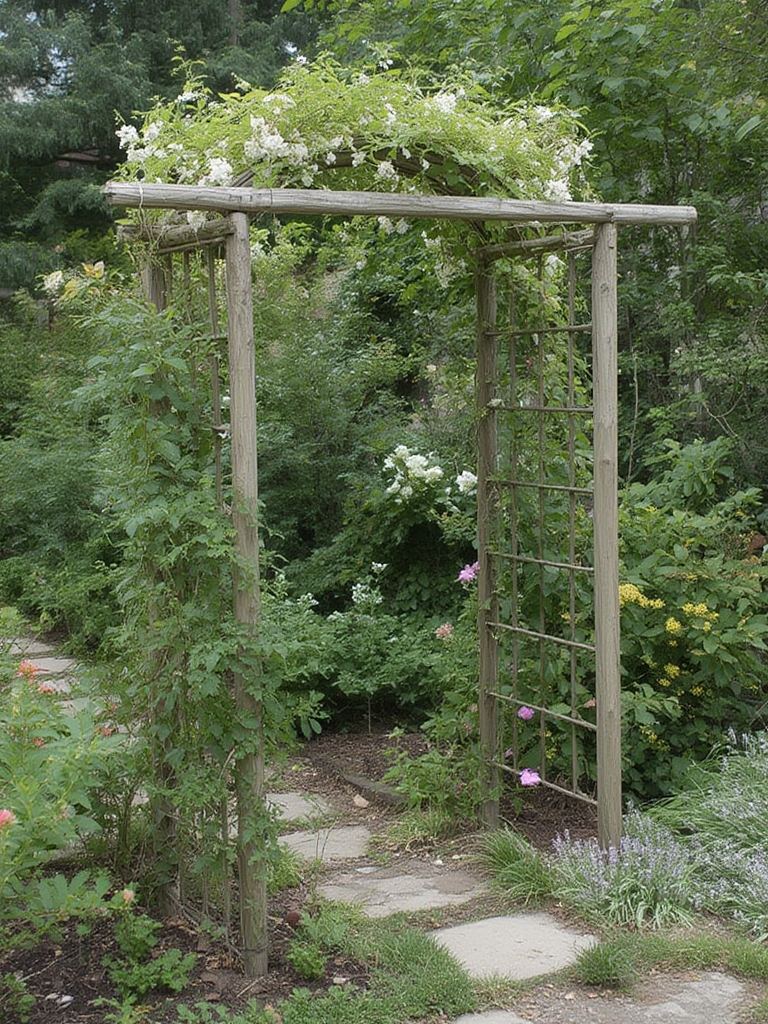
👉 Garden Arbor & Pergola Ideas: DIY Shade Structures
👉 Best Garden Pruning Shears: Expert Reviews & Buying Guide
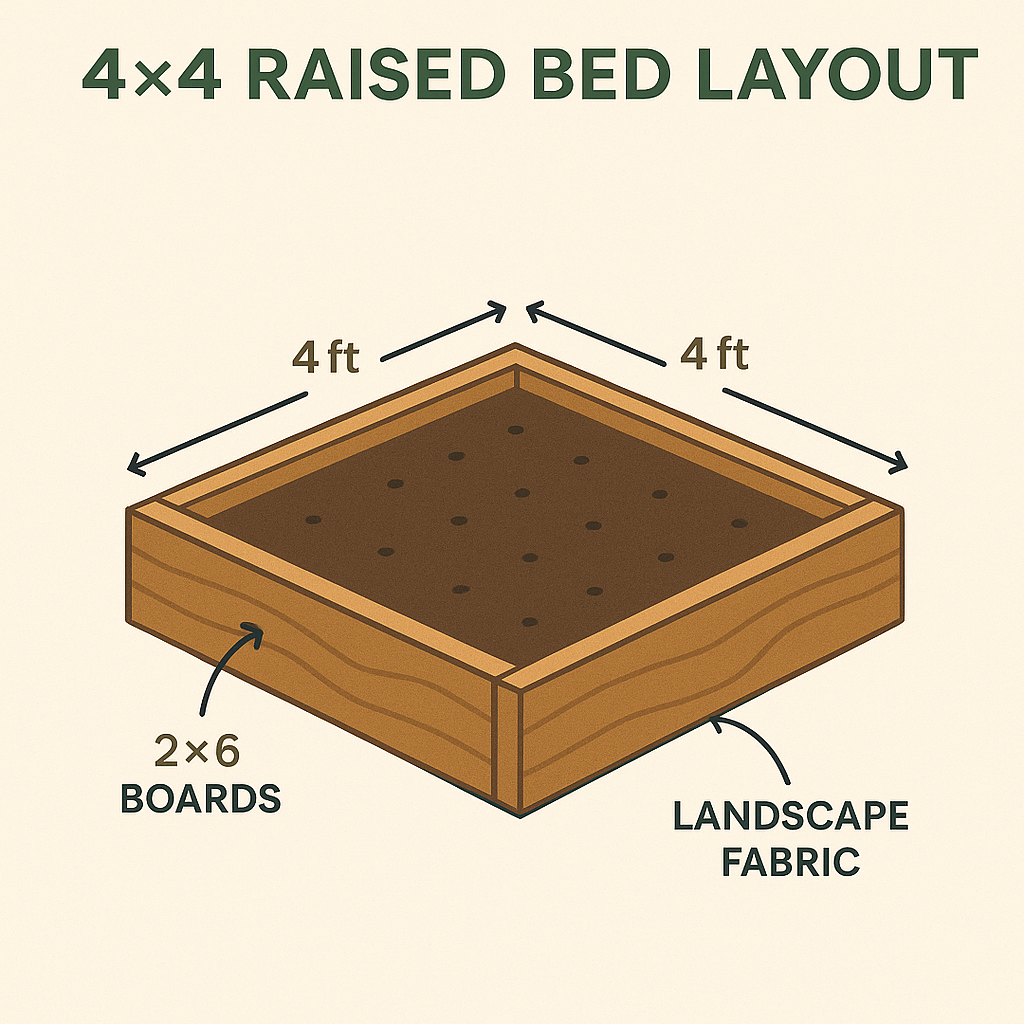
Visual & Printable Suggestions
Basic 4×4 raised bed layout with measurements and materials labeled:
Download our printable “Raised Bed Supply List” to take shopping:
Download Raised Bed Supply List 🌿Conclusion: Let’s Get Growing!
🌱 There’s something deeply satisfying about building something with your own hands — especially when it leads to fresh herbs, vibrant veggies, and a little more green in your life. Building a raised garden bed for under $50 is absolutely doable, even for first-time gardeners.So go ahead, grab a few boards, get your hands dirty, and grow something amazing.
Tag us with your garden pics or share your setup in the comments, we’d love to see what you grow! 🌼🛠️💚