Spring Bulb Planting Guide: Timing, Depth & Aftercare for Perennial Blooms
Spring Bulb Planting Guide: Timing, Depth & Aftercare for Perennial Blooms
As the last vestiges of winter fade, a sense of anticipation fills the air. For gardeners, this is a signal for new beginnings and the promise of vibrant color. The spring bulb planting guide is your essential roadmap to creating a stunning display of perennial blooms that will return year after year. This guide is crafted with beginners in mind, offering clear, actionable advice to ensure your gardening success.
Tools & Tasks for This Season

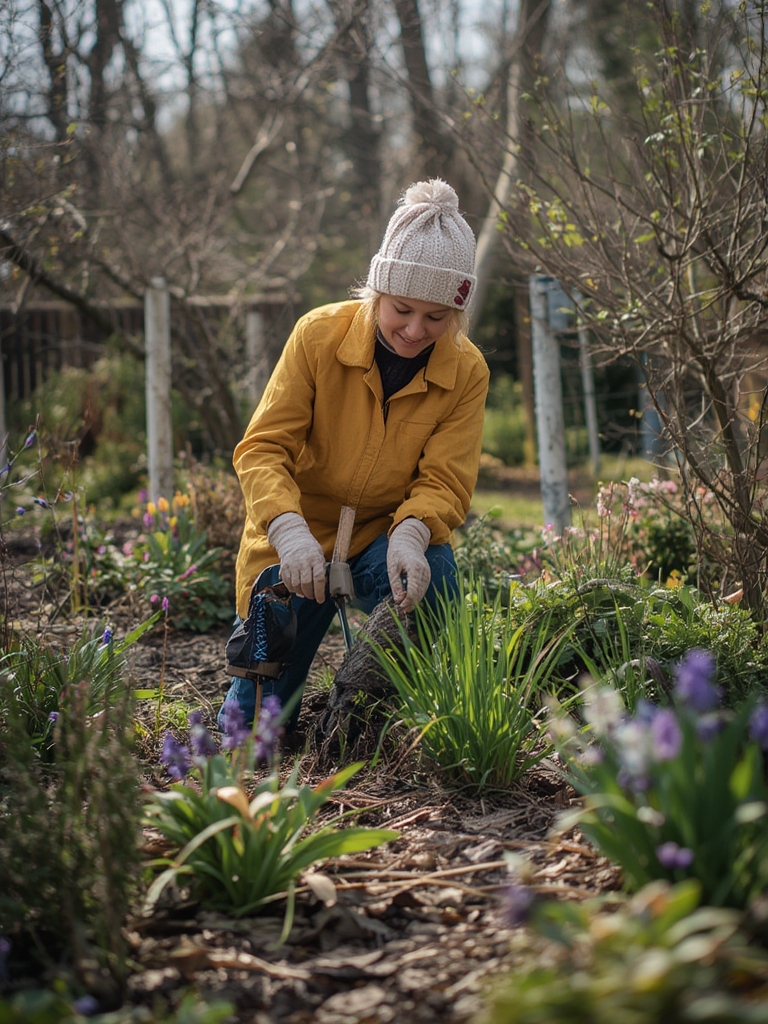
Before you dive into the joyful task of planting, gathering the right tools will make the process smoother and more enjoyable. Think of it as preparing your gardening toolkit for a successful mission!
Here’s what you’ll need:
- Gardening Gloves: To protect your hands from soil and potential irritants.
- Trowel or Bulb Planter: For digging the perfect hole. A bulb planter is particularly useful for achieving consistent depths.
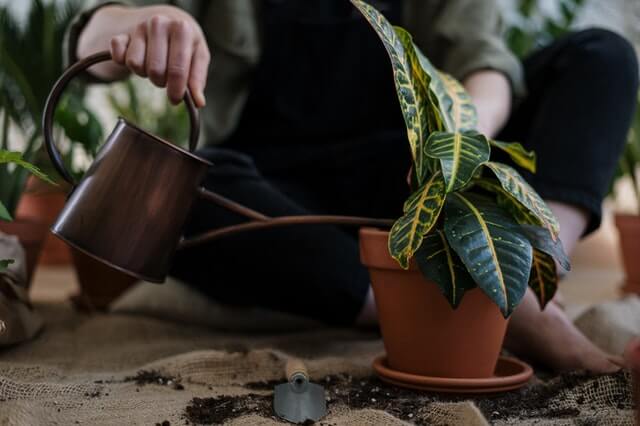
- Watering Can or Hose: Essential for giving your newly planted bulbs a good drink.
- Compost or Well-rotted Manure: To enrich the soil and provide nutrients for your bulbs.
- Marking Labels: To remember what you’ve planted and where, especially if you’re planning a complex design.
- A Spade or Fork: For preparing larger planting areas.
Seasonal Gardening Checklist

Following a checklist ensures you don’t miss any crucial steps. This spring bulb planting guide will help you create a beautiful spring garden.
Step 1: Choose Your Bulbs Wisely
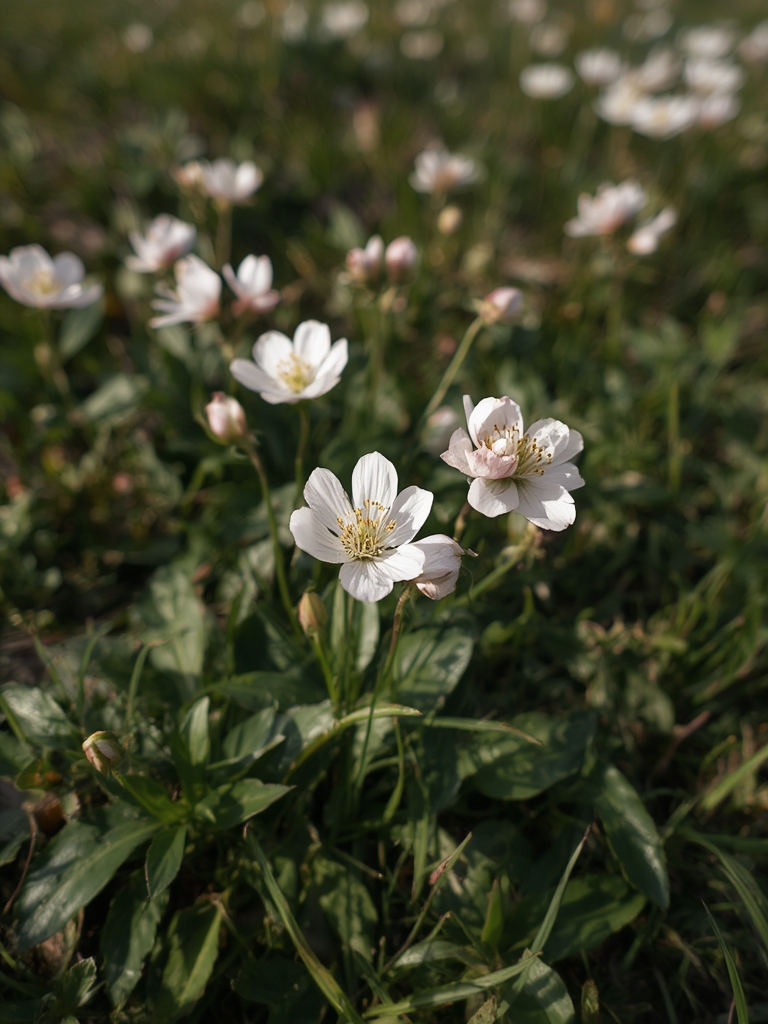
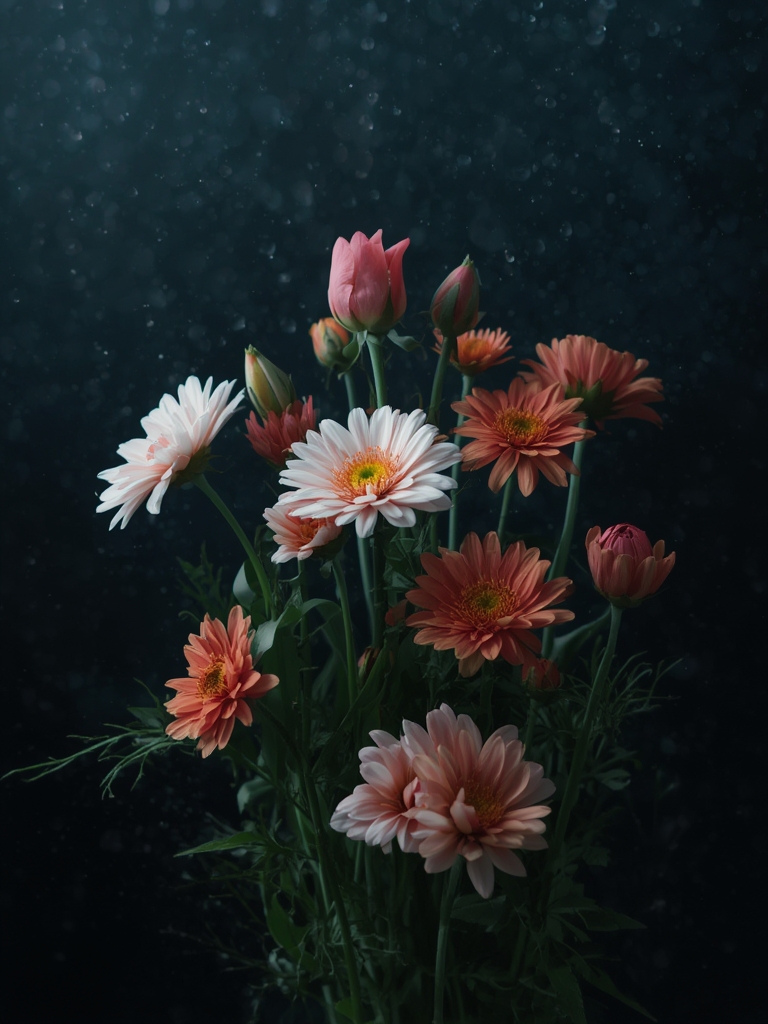
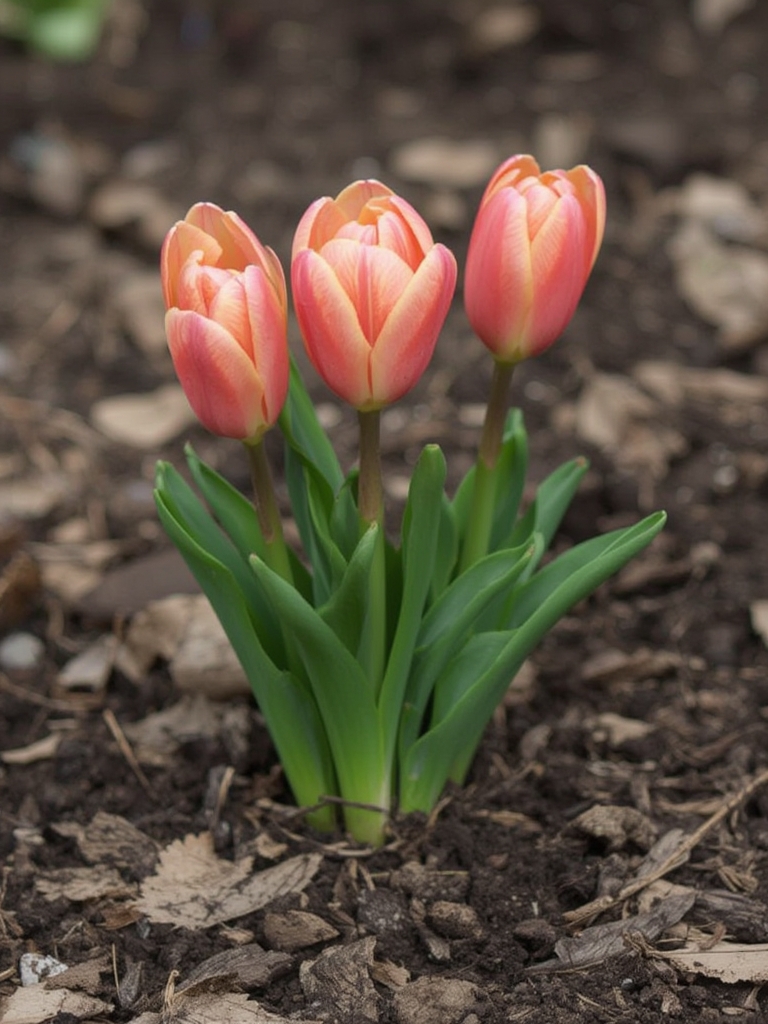
Select healthy, firm bulbs. Avoid any that are soft, moldy, or damaged. Consider the bloom time, color, and height to create a layered effect in your garden. Popular choices for when to plant spring bulbs daffodils tulips include daffodils, tulips, hyacinths, crocuses, and alliums.
Step 2: Determine the Best Planting Time
The ideal time for planting spring-blooming bulbs is in the autumn. This allows their roots to establish before the ground freezes. Aim for a period when the soil temperature has cooled to around 50-60°F (10-15°C) and typically between September and November, depending on your climate. Early planting is generally better.
Step 3: Prepare Your Planting Site
Choose a location that receives adequate sunlight – most spring bulbs thrive in full sun to partial shade. Ensure the soil is well-draining. If your soil is heavy clay, amend it with compost or grit to improve drainage. Remove any weeds from the planting area.
Step 4: Planting Depth is Key
A general rule of thumb for the spring bulb planting guide is to plant bulbs at a depth of about three times their height. The pointed end should always face upwards, and the flat, root-bearing end should face downwards. Planting too shallow can expose bulbs to frost, while planting too deep can hinder blooming.
Step 5: Spacing Your Bulbs
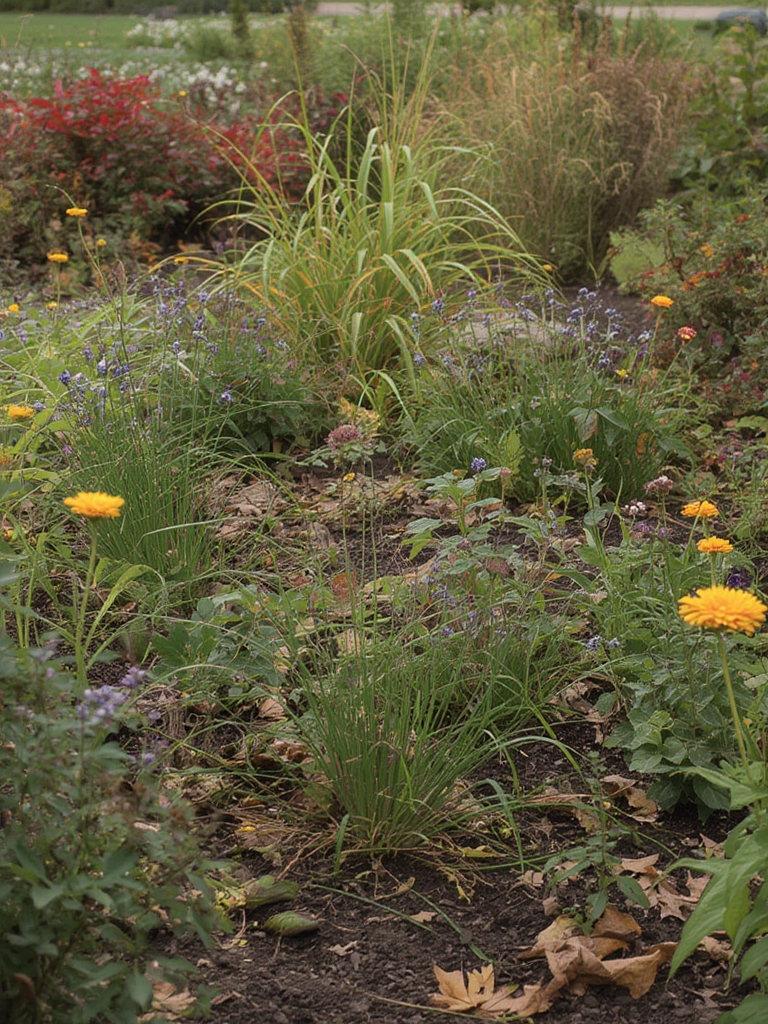
Give your bulbs enough room to grow. For most bulbs, space them about 4-6 inches apart. Planting in drifts or clusters creates a more natural and impactful display.
Step 6: Water Thoroughly
Once planted, water the bulbs generously. This helps settle the soil and encourages root development.
Planting, Pruning & Maintenance Tips
- Planting in Containers: Spring bulbs are fantastic for pots and containers. Use a good quality potting mix and ensure containers have drainage holes. You can plant bulbs in layers in containers for a long-lasting display, known as the “lasagna gardening” method.
- Pruning After Blooming: Once the flowers have faded, resist the urge to cut back the foliage immediately. The leaves are crucial for storing energy for next year’s blooms. Allow the foliage to yellow and die back naturally, which typically takes about six weeks. You can then trim the dead foliage.
- Feeding: While bulbs have stored energy, a light feeding with a balanced fertilizer in early spring, just as the shoots emerge, can boost their performance. Avoid high-nitrogen fertilizers, which can encourage leafy growth at the expense of flowers.
- Pest Control: Keep an eye out for common pests like slugs, snails, and squirrels. Deterrents like copper tape around containers or netting can be effective.
Season-Specific Mistakes to Avoid
- Planting at the Wrong Time: Planting too late in the season means bulbs may not establish enough roots before winter. Planting too early can lead to premature sprouting and frost damage.
- Incorrect Planting Depth: As mentioned, this is crucial. Too shallow or too deep can prevent blooming or lead to bulb rot.
- Poor Drainage: Bulbs will rot in waterlogged soil. Always ensure good drainage.
- Cutting Foliage Too Soon: This starves the bulb of the energy it needs for next year. Patience is key!
Preparation for Next Season
After your spring bulbs have finished blooming and their foliage has died back, you can choose to leave them in the ground for naturalizing. This is especially effective for bulbs like daffodils that increase over time. For tulips, which are often treated as annuals due to their tendency to decline in vigor after the first year, you might consider replacing them or digging them up and storing them in a cool, dry place to replant in the autumn.
Conclusion
The spring bulb planting guide is more than just a set of instructions; it’s an invitation to connect with nature’s cyclical beauty. By following these simple steps, you’ll be well on your way to enjoying a breathtaking tapestry of color that heralds the arrival of spring. Happy planting!
FAQs
Q1: When is the absolute latest I can plant spring bulbs?
A1: While autumn is ideal, you can often plant bulbs as long as the ground isn’t frozen. Planting later might mean a slightly delayed bloom, but they will likely still flower.
Q2: Can I plant bulbs in a garden that gets a lot of shade?
A2: Some bulbs, like certain varieties of daffodils and crocuses, can tolerate partial shade. However, most spring bulbs perform best in full sun. It’s best to research specific varieties.
Q3: How do I store bulbs if I dig them up after flowering?
A3: After the foliage has died back, carefully dig up the bulbs. Brush off excess soil and allow them to dry thoroughly in a cool, dark, and well-ventilated area for a few weeks. Store them in paper bags or mesh nets in a cool, dry place until autumn planting time.
Q4: My bulbs didn’t bloom last year. What could be the reason?
A4: Common reasons include incorrect planting depth, not enough sunlight, poor soil drainage, or the foliage being cut back too soon. Pests like squirrels or voles could also have eaten them.