How to Build a Garden Trellis: DIY Designs for Climbing Plants
How to Build a Garden Trellis: DIY Designs for Climbing Plants
Do you dream of a vibrant garden overflowing with beautiful climbing plants, but find them sprawling aimlessly? You’re not alone! Many gardeners face the challenge of providing adequate support for their vertical growers. The good news? You don’t need to be a master carpenter to achieve stunning results. In fact, learning how to build garden trellis is a rewarding DIY project that can transform your outdoor space, offering both aesthetic appeal and practical benefits for your plants.
A well-placed trellis not only supports healthy growth but also maximizes your garden space, making even the smallest areas feel lush and abundant. From vibrant morning glories to bountiful cucumbers, a sturdy trellis is a game-changer. This guide will walk you through everything you need to know, making it easy for any beginner to tackle this fantastic garden upgrade. Let’s get building!
Materials & Tools Needed
Before we dig in, let’s gather everything you’ll need. Planning ahead makes the entire process smoother and more enjoyable.

Materials:
- For a simple wooden trellis (example):
- (4) Wooden stakes or 2×2 lumber pieces (approx. 6-8 feet long, depending on desired height)
- (3-5) Thinner wooden slats or furring strips (approx. 2-4 feet long for cross supports)
- Weather-resistant wood glue (optional, for extra strength)
- Wood screws or nails (1.5-2 inches long)
- Optional: Garden twine, wire mesh, or netting for additional climbing support
- Optional: Exterior paint or stain for weather protection and aesthetics
- Alternative Materials: Bamboo poles, PVC pipes, old branches, rebar, thick garden wire.
Tools:
- Measuring tape
- Saw (hand saw, circular saw, or miter saw)
- Drill with appropriate drill bits
- Hammer (if using nails)
- Screwdriver (or drill with screwdriver bit)
- Pencil
- Safety glasses and gloves
- Level
- Post-hole digger or shovel (if sinking posts into the ground)
Project Duration & Planning
Building a basic garden trellis is a project that most DIY enthusiasts can complete in a single afternoon, typically 2-4 hours. More intricate designs might take a bit longer.
Planning is key:
- Choose your location: Consider sunlight, wind exposure, and proximity to your climbing plants.
- Determine your plant’s needs: Vining plants like cucumbers need sturdy support, while peas might do well with lighter twine. Consider the mature height and weight of your plants.
- Sketch your design: Even a rough drawing helps visualize the finished product and ensures you buy the right amount of materials. Decide on the height, width, and desired grid pattern.
- Check local regulations: If your trellis is very tall or near property lines, quickly check for any local rules.
Step-by-Step DIY Instructions
Let’s get down to business! This guide outlines a common method to how to build garden trellis using wood, which is versatile and beginner-friendly.

- Measure and Cut Your Wood:
- Decide on your desired trellis height and width. For a common A-frame or rectangular trellis, you’ll need two main vertical supports (the height) and several horizontal supports (the width).
- Measure and cut your wooden stakes/2x2s for the vertical supports. Leave extra length if you plan to sink them into the ground.
- Cut your thinner slats for the horizontal supports to the desired width.
- Assemble the Frame:
- Lay two of your vertical supports parallel on a flat surface, spaced at your desired trellis width.
- Place the top horizontal support across the verticals, flush with the top. Ensure it’s square using a measuring tape or a carpenter’s square.
- Pre-drill pilot holes to prevent wood splitting, then secure the horizontal piece to the vertical supports with screws or nails.
- Repeat this for the bottom horizontal support, placing it slightly above where the trellis will meet the ground (to prevent rot).
- Add Internal Supports/Grid:
- Now, you’ll add the remaining horizontal slats, spacing them evenly between the top and bottom supports. A common spacing is 8-12 inches, depending on your plant’s growth habit.
- Mark your desired spacing on both vertical supports.
- Attach the horizontal slats using screws or nails, pre-drilling holes.
- Optional: For a more intricate grid, you can also add vertical slats between your main frame, creating smaller squares. Or, run strong garden twine/wire between the horizontal slats for additional climbing points.
- Weatherproof Your Trellis (Optional but Recommended):
- If using untreated wood, apply an exterior-grade paint or stain. This protects the wood from rot, insects, and UV damage, significantly extending your trellis’s lifespan. Choose colors that complement your garden. Allow it to dry completely.
- Install Your Trellis:
- For freestanding trellises: Dig two holes deep enough to securely anchor the bottom of your vertical supports (usually 1-2 feet deep). Place the trellis in the holes, level it, and backfill with soil, compacting it firmly. For extra stability, you can use concrete.
- For wall-mounted trellises: Use appropriate hardware (e.g., masonry anchors for brick, wood screws for fences) to securely attach your trellis to a wall or fence, leaving a small gap for air circulation behind it.
- Guide Your Plants:
- Once installed, gently guide your climbing plants towards the trellis. You may need to loosely tie initial stems to the structure with soft garden ties until they learn to grab on their own.
Benefits & Practical Advantages
Building your own garden trellis offers a bounty of advantages:
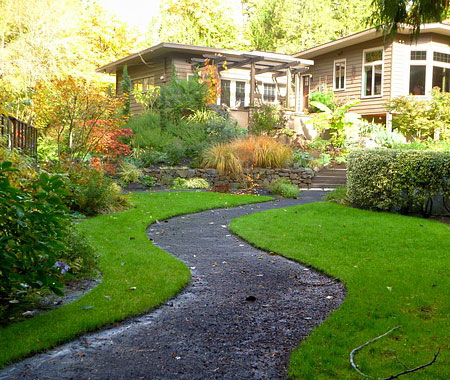
- Optimizes Space: Trellises allow plants to grow vertically, making the most of small gardens, patios, or even balconies. This means more room for more plants!
- Improved Plant Health: Vertical growth provides better air circulation, reducing the risk of fungal diseases. It also keeps fruits and vegetables off the ground, preventing rot and pest damage.
- Increased Yields: Many plants, like tomatoes, cucumbers, and beans, produce more when properly supported, as they can dedicate energy to fruit production rather than sprawling.
- Easier Harvesting: No more bending over! Fruits and vegetables are at a more convenient height for picking.
- Aesthetic Appeal: A beautifully designed trellis adds a decorative element to your garden, creating stunning vertical displays of foliage and flowers.
- Cost-Effective: DIY trellises are often significantly cheaper than store-bought options, especially for larger structures.
- Customization: You get to design a trellis that perfectly fits your specific plants, space, and garden aesthetic.
DIY Variations & Customization Tips
The beauty of DIY is endless customization! Exploring various trellis designs climbing plants support structures can inspire you to create something truly unique.
- A-Frame Trellis: Excellent for vining vegetables like cucumbers and peas, offering two sides of support and easy access.
- Obelisk Trellis: A conical or pyramidal shape perfect for accenting flower beds or supporting vigorous climbers like clematis. Use four vertical posts meeting at a point.
- Fan Trellis: Ideal for espaliered fruit trees or decorative climbers against a wall. The slats radiate outwards from a central point.
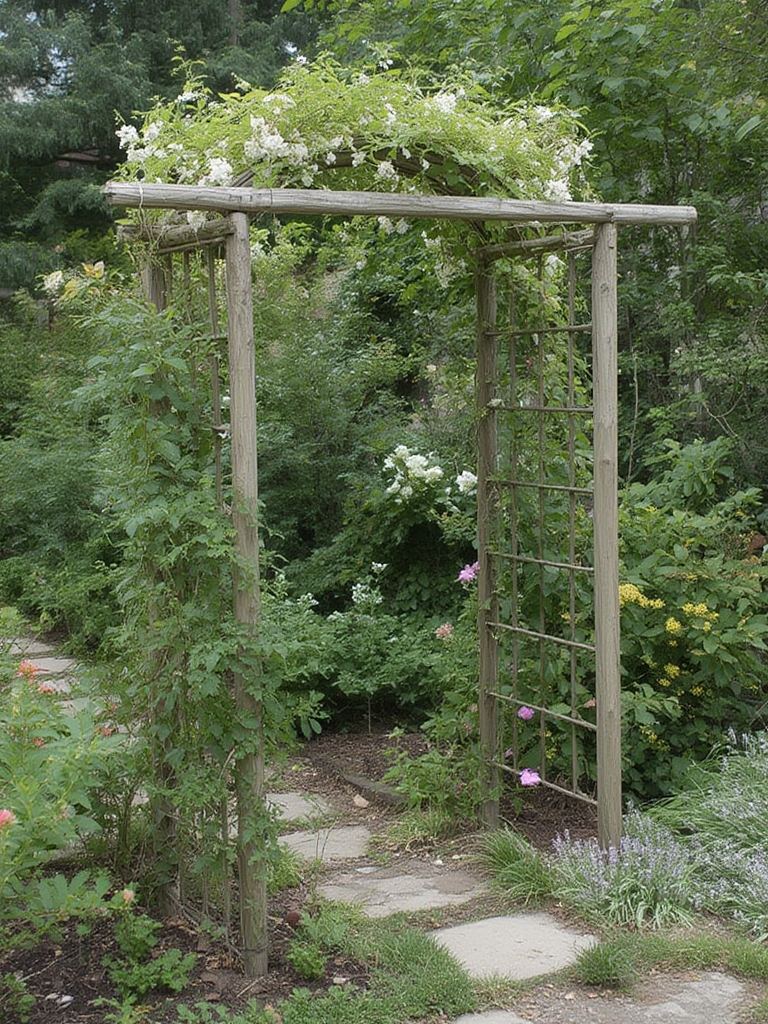
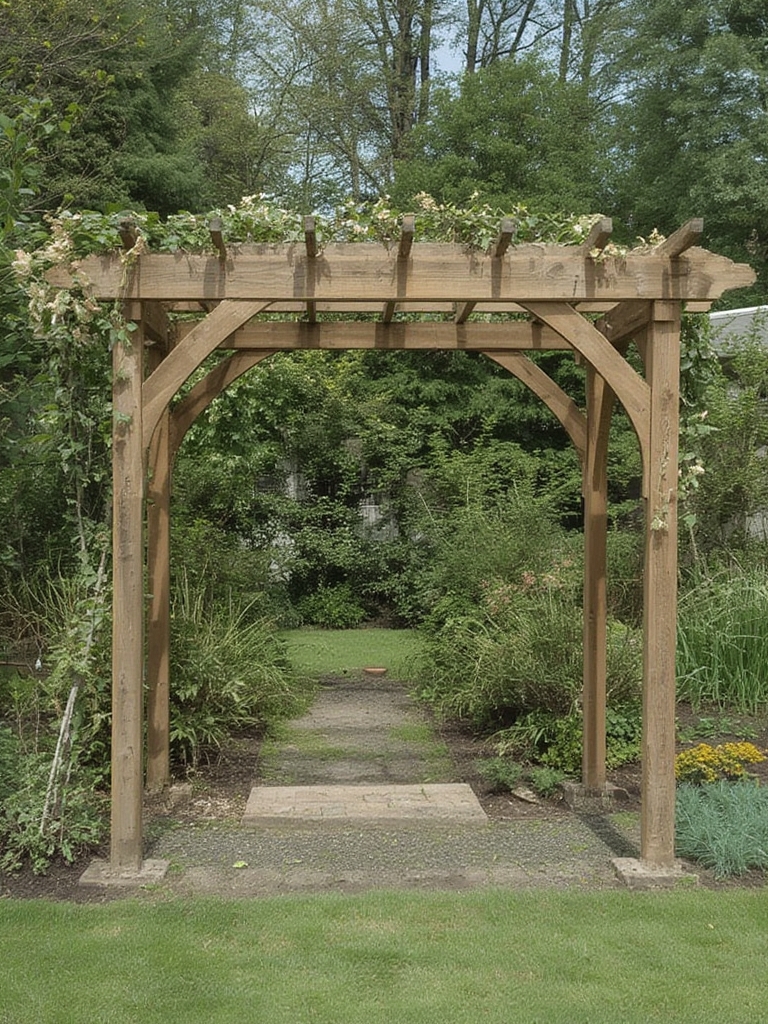
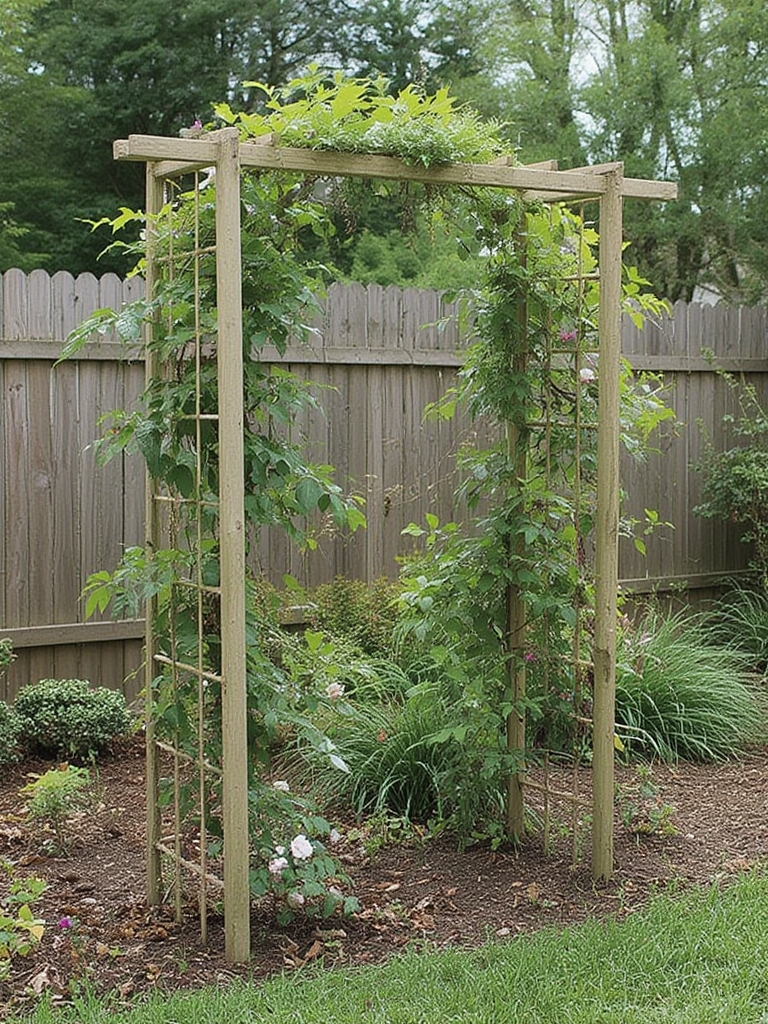
- Arbor or Arch Trellis: Create a stunning entrance or walkway draped in climbing roses, wisteria, or grapes. This is a larger project but incredibly rewarding.
- Bamboo Trellis: Lightweight and natural-looking, bamboo poles can be lashed together for quick and easy support.
- Recycled Materials: Get creative with old bed frames, bike wheels, or even sturdy branches for an eco-friendly and unique look.
- Add Art: Incorporate decorative finials, painted designs, or hanging ornaments to personalize your trellis.
- Color & Finish: Match your trellis to your house, fence, or garden furniture. Darker colors make foliage pop, while lighter colors offer a serene backdrop.
Common DIY Mistakes
Even the simplest projects can have pitfalls. Be mindful of these common mistakes to ensure your trellis is a success:
- Underestimating Plant Weight: Many novice builders make trellises too flimsy. Mature climbing plants can become surprisingly heavy, especially with fruit. Always overbuild rather than underbuild.
- Incorrect Spacing: Spacing horizontal supports too far apart can make it hard for smaller vines to grip. Too close, and it can become a tangled mess. Aim for 8-12 inches.
- Using Untreated Wood Outdoors: Regular lumber will rot quickly when exposed to moisture and soil. Always use pressure-treated wood, cedar, redwood, or apply an exterior-grade sealant or paint.
- Poor Foundation: A trellis that isn’t securely anchored will topple in strong winds. Ensure posts are deep enough and stable, or use strong mounting hardware.
- Ignoring Plant Type: Not all plants climb the same way. Some twine, some have tendrils, some have suckers. Research your plant’s climbing habit to design the most effective support.
Maintenance & Longevity Tips
A little care goes a long way in ensuring your DIY trellis stands strong for years to come.
- Annual Inspection: At the beginning of each gardening season, inspect your trellis for any signs of wear, rot, loose screws, or damaged sections.
- Clean and Repair: Clean off any accumulated dirt or plant debris. Make any necessary repairs promptly, replacing rotted wood or tightening fasteners.
- Reapply Sealant: Every few years, consider reapplying an exterior stain or sealant, especially if your trellis is exposed to harsh weather.
- Winter Care: For trellises supporting annuals, you can clear off old plant material. If supporting perennials or fruit vines, gently prune as needed. In regions with heavy snow, you might consider temporarily bracing very tall or wide trellises.
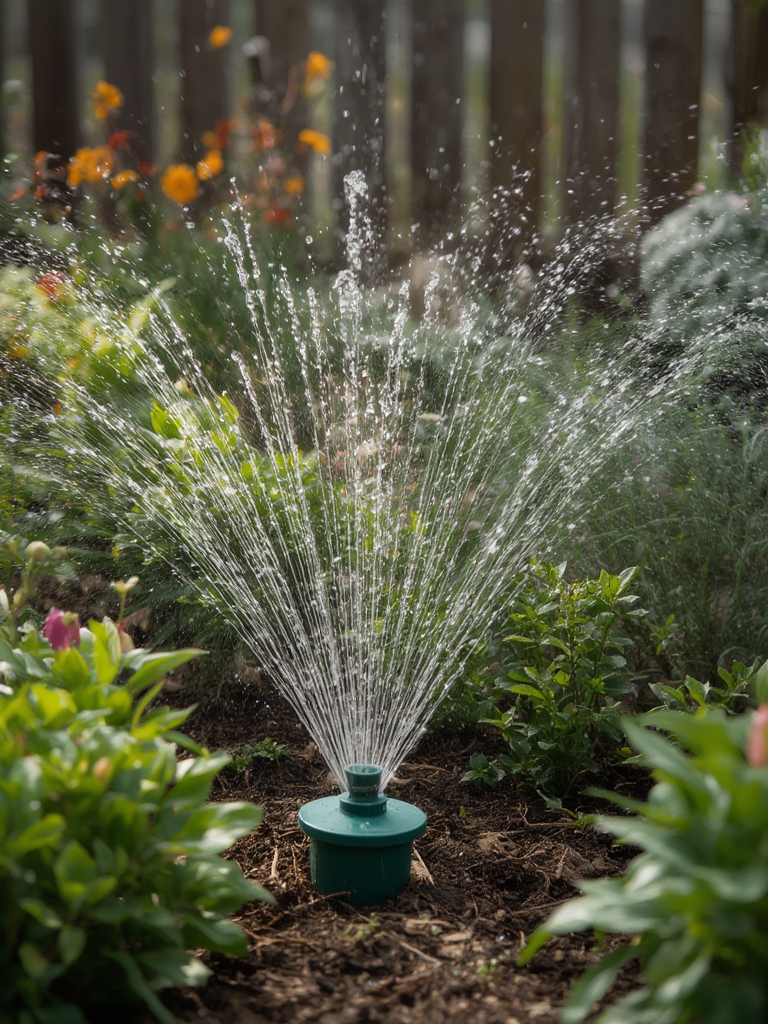
- Prevent Soil Contact: Keep the base of wooden trellises slightly elevated from the soil to minimize moisture absorption and rot. Consider using post protectors or concrete footings.
Conclusion
You now have all the knowledge and inspiration to tackle building your very own garden trellis! This rewarding DIY project will not only provide essential support for your climbing plants but also elevate the beauty and functionality of your outdoor space. Imagine the vibrant blooms cascading or the bountiful harvest within easy reach – all thanks to your hard work.
So, grab your tools, choose your design, and get ready to transform your garden. Learning how to build garden trellis is a skill that will pay dividends in beauty and harvest for seasons to come. Happy building, and enjoy your thriving vertical garden!
FAQs
Q1: What are the best materials for a DIY garden trellis?
A1: Common choices include pressure-treated lumber, cedar, redwood, bamboo, PVC pipes, or even sturdy metal rebar. The best material depends on your budget, desired aesthetic, and the weight of the plants it will support.
Q2: How tall should my garden trellis be?
A2: The height depends on the mature size of your climbing plants. For most vegetables like cucumbers or beans, 5-7 feet is sufficient. For vigorous flowering vines like wisteria or climbing roses, you might need 8 feet or more.
Q3: Can I use a trellis for potted plants?
A3: Absolutely! Smaller, lighter trellises (like a mini obelisk or fan trellis) are perfect for potted climbing plants. Ensure the trellis is weighted or anchored within the pot to prevent tipping.
Q4: How far apart should the horizontal supports be on a trellis?
A4: Generally, 8 to 12 inches is a good spacing. Smaller tendril climbers like peas might prefer slightly closer spacing (6-8 inches), while larger vines can manage wider gaps.
Q5: How do I make my wooden trellis last longer outdoors?
A5: Use weather-resistant wood (like cedar or pressure-treated lumber), apply an exterior-grade stain or paint, and ensure the base is not in direct contact with damp soil. Regular inspection and repairs also extend its lifespan.