How to Start Seeds Indoors: Complete Setup Guide with Grow Lights
How to Start Seeds Indoors: Complete Setup Guide with Grow Lights
Are you dreaming of a vibrant garden, overflowing with fresh produce and beautiful blooms, even before the last frost melts away? The secret to getting a head start on the growing season, enjoying unique plant varieties, and saving money lies in learning how to start seeds indoors. It’s a rewarding process that allows you to nurture your plants from tiny specks of life, providing them with the perfect environment to thrive.
This comprehensive guide will walk you through everything you need to know, from setting up your indoor garden with the right equipment, especially grow lights, to the day-to-day care that ensures strong, healthy seedlings ready for your outdoor beds. Get ready to transform a corner of your home into a verdant nursery!
Plant Requirements & Supplies
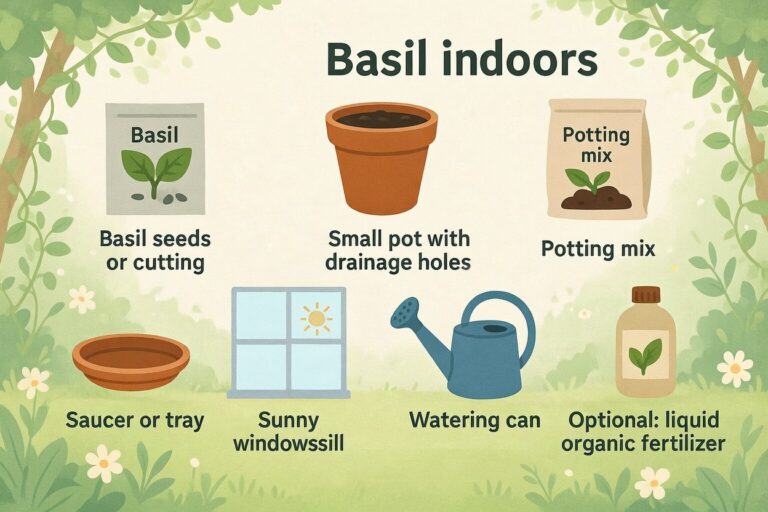
To successfully begin your journey on how to start seeds indoors, gathering the right supplies is crucial. Quality equipment makes a significant difference in germination rates and seedling health.
Here’s what you’ll need for your indoor seed starting setup:
- Seed Starting Trays: Look for trays with drainage holes and an accompanying clear dome to retain humidity. Cells of various sizes are available depending on your seed type.
- Seed Starting Mix: This is lighter and finer than regular potting soil, designed to provide excellent drainage and aeration for delicate seedlings. Avoid garden soil, which can compact and harbor pathogens.
- Seeds: Choose high-quality seeds from reputable sources. Always check the expiration date!
- Grow Lights: Essential for strong, non-leggy seedlings. LED grow lights are energy-efficient and effective.
- Heat Mat: Many seeds germinate best with consistent bottom heat.
- Labels and Permanent Marker: Keep track of what you’ve planted and when.
- Watering Can or Spray Bottle: A gentle stream or mist prevents disturbing tiny seeds and seedlings.
- Fan (Optional but Recommended): A small fan can strengthen stems and improve air circulation, preventing damping-off disease.

Caption: Essential supplies for a successful indoor seed starting journey.
Step-by-Step Care Instructions
Mastering how to start seeds indoors is simpler than you might think. Follow these steps to give your seeds the best possible start:
- Prepare Your Trays: Fill your seed starting trays with moist seed starting mix. Gently tamp it down to remove large air pockets, but don’t compact it too much.
- Plant Your Seeds: Read your seed packets carefully for planting depth and spacing. Generally, small seeds are barely covered, while larger seeds are planted two to three times their diameter deep. Plant 2-3 seeds per cell to ensure germination, thinning later if needed.
- Water Gently: After planting, water your trays gently from the top or bottom-water by letting the tray sit in a shallow pan of water until the soil surface is moist.
- Provide Warmth (if needed): Place your trays on a heat mat set to the recommended temperature for your specific seeds (usually around 70-75°F / 21-24°C). Cover with a clear humidity dome.
- Set Up Grow Lights: As soon as you see the first sprouts emerge, remove the humidity dome and place your seedlings under grow lights. Position the lights just an inch or two above the plant tops. A proper seed starting indoors grow lights setup guide will recommend running lights for 14-16 hours a day. Adjust the light height as your seedlings grow.
- Maintain Moisture: Keep the soil consistently moist but never soggy. Water when the top layer of soil feels dry to the touch.

Caption: Follow these simple steps for a thriving indoor seed starting experience.
Growing & Care Schedule
Consistency is key when learning how to start seeds indoors.
- Daily: Check soil moisture and adjust grow light height. Ensure good air circulation.
- Weekly: Once true leaves appear, you might introduce a diluted liquid fertilizer (1/4 strength) specifically formulated for seedlings. Monitor for pests and diseases.
- As needed: Thin out crowded seedlings by snipping the weaker ones at the soil line, leaving the strongest in each cell. This prevents competition for resources.
- Before Transplanting: About 1-2 weeks before moving seedlings outdoors, begin the “hardening off” process. Gradually expose them to outdoor conditions (sun, wind, temperature fluctuations) for increasing periods each day.
Benefits of Proper Care
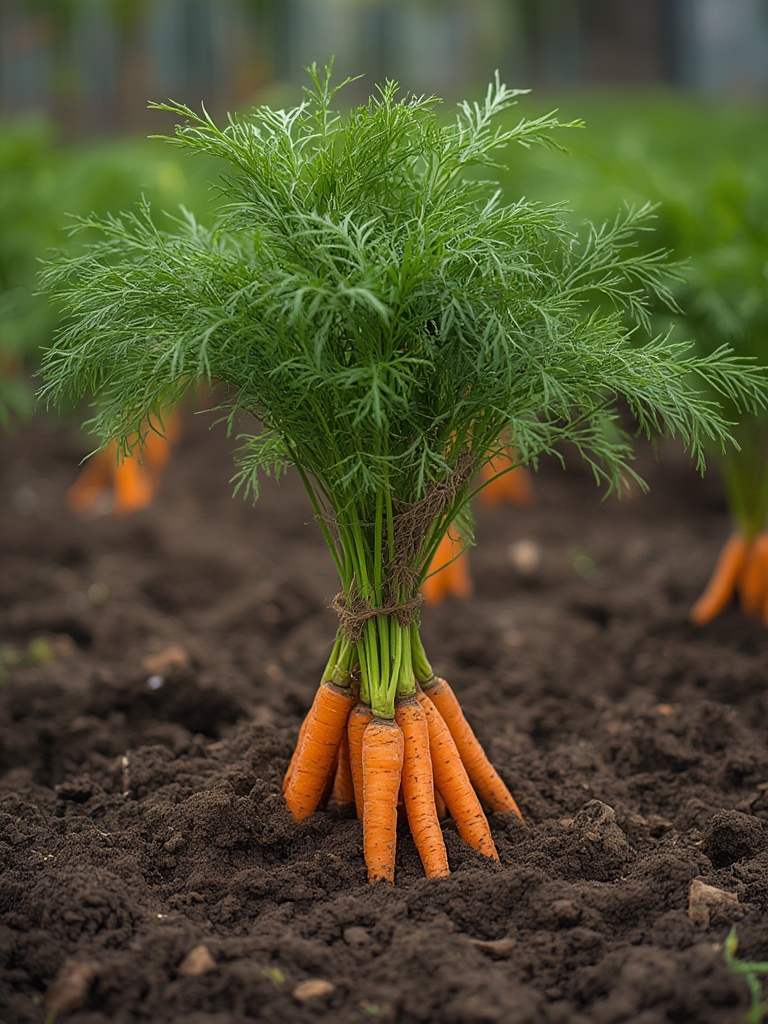
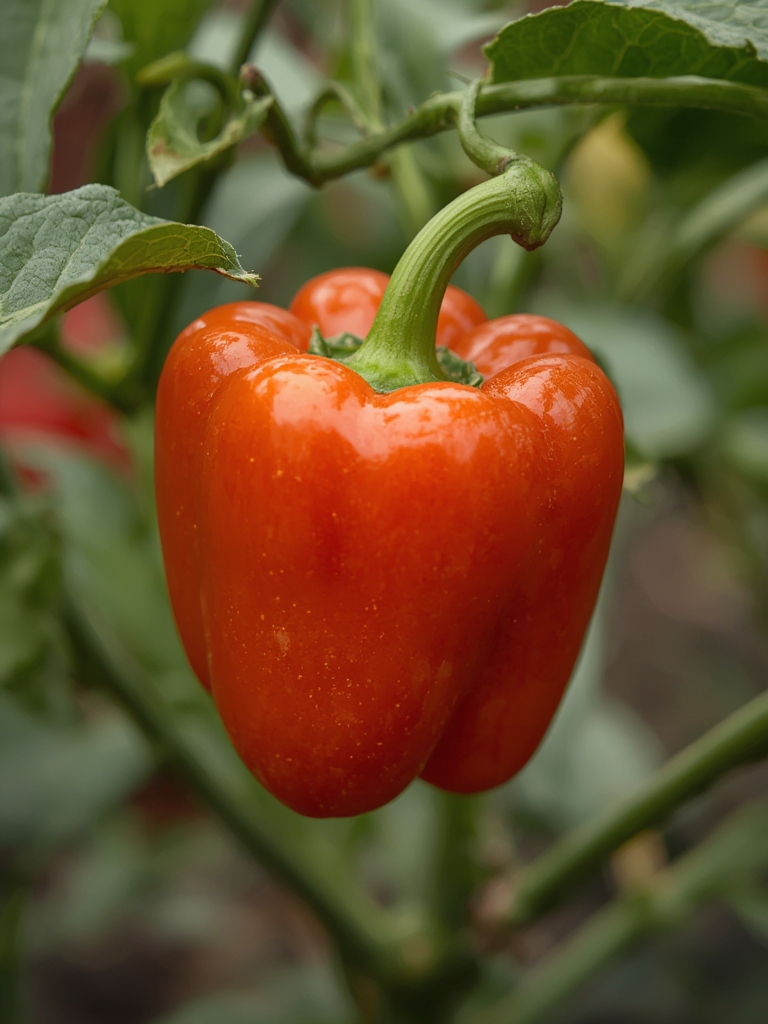
Investing time in understanding how to start seeds indoors pays off handsomely. Proper care leads to stronger, more resilient seedlings that are better equipped to handle the transition to your garden. You’ll enjoy earlier harvests, a wider selection of plant varieties not found in local nurseries, and significant cost savings over buying mature plants. Plus, there’s immense satisfaction in watching your garden come to life from tiny seeds.
Alternative Care Methods
While a dedicated seed starting indoors grow lights setup guide is ideal, you can still start seeds with alternative methods. South-facing windows can provide some natural light, but often not enough, leading to leggy, weak seedlings. For those on a budget, DIY grow light setups using shop lights with cool-white fluorescent bulbs can work, though they are less efficient than dedicated LEDs. Some seeds require cold stratification – a period of chilling before germination – which can be done in your refrigerator.
Common Care Mistakes
Even experienced gardeners make mistakes! When learning how to start seeds indoors, be mindful of these common pitfalls:
- Overwatering: The quickest way to kill seedlings! Leads to root rot and “damping-off” disease.
- Insufficient Light: Results in tall, spindly (leggy) seedlings desperately reaching for light.
- Incorrect Temperature: Too cold, and germination slows or fails; too hot, and seedlings can become stressed.
- Planting Too Deep/Shallow: Follow seed packet instructions for optimal depth.
- Not Hardening Off: Skipping this step can shock and kill your seedlings when moved outdoors.
Maintenance & Pruning Tips
As your seedlings grow, proper maintenance becomes important. Beyond thinning, consider bottom watering your trays to encourage strong root development and prevent fungal issues on the soil surface. Ensure good air circulation with a small fan to prevent diseases like damping-off. When your seedlings develop 2-3 sets of true leaves and have robust root systems, it’s time to “pot up” into larger containers before their final transplant outside.
Conclusion
Learning how to start seeds indoors is a fulfilling and practical skill that empowers you to control your garden from the very beginning. With the right setup, especially with dedicated grow lights, and a little consistent care, you’ll be amazed at the healthy, vigorous seedlings you can produce. So, embrace the warmth and wonder of indoor seed starting – your garden will thank you for it!
FAQs
What kind of grow lights are best for how to start seeds indoors?
LED grow lights are highly recommended. They are energy-efficient, produce less heat, and offer a full spectrum of light that mimics natural sunlight, ideal for strong seedling growth. Fluorescent T5 or T8 shop lights are a more budget-friendly option.
When should I start my seeds indoors?
This depends entirely on your last frost date and the specific plant. Most vegetables and flowers are started 4-8 weeks before the last expected frost. Check your seed packets for specific recommendations and consult a local planting calendar.
How often should I water my seedlings?
The key is to keep the soil consistently moist, but not waterlogged. Check daily by feeling the top layer of soil. If it feels dry, it’s time to water. Bottom watering is often preferred to prevent disturbing delicate seedlings and to encourage deeper root growth.
Do I need a heat mat for all seeds?
No, not all seeds require a heat mat. While many warm-season crops like tomatoes, peppers, and most flowers benefit from the consistent warmth for quicker and better germination, cool-season crops like lettuce, spinach, and broccoli often germinate well at cooler room temperatures.
What is hardening off?
Hardening off is the crucial process of gradually acclimating your indoor-grown seedlings to outdoor conditions (sun, wind, cooler temperatures) over 1-2 weeks before transplanting them into your garden. This prevents transplant shock and ensures your plants thrive outside.